My sister has become somewhat of a sourdough savant. After moving to a new city, she couldn’t find bread that she liked and decided to take matters into her own hands. Sophie, who I never thought one to love being in the kitchen, was experimenting to make the perfect loaf. She refined her craft and started baking delicious loaves of all different types: classic, cheese, seeds & nuts, even cinnamon swirl.
Now, being a diabetic, she knows that I mostly only eat whole wheat bread to help with blood sugar spikes. So whenever I would come to visit, she would have her hand at making a whole wheat variant. After attempting a few variants, she makes the tastiest whole wheat sourdough with the perfect tender and chewy center. So, it is my privilege and pleasure to post Sophie’s Whole Wheat Sourdough recipe to share with all.
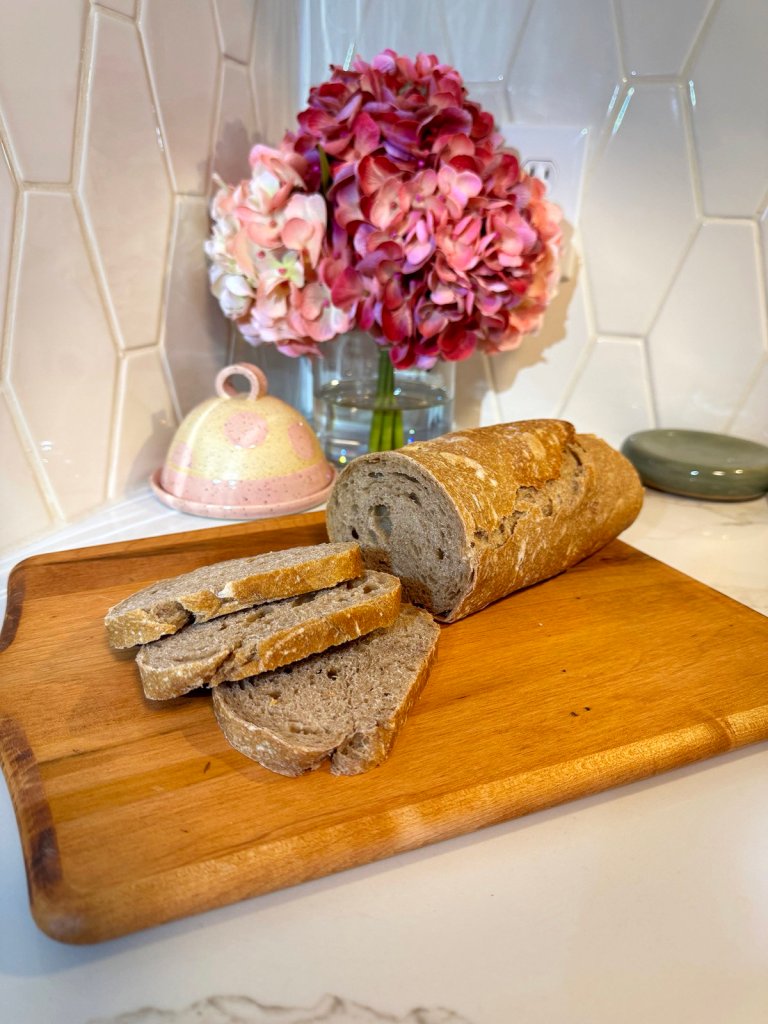
Homemade Sourdough (Half Whole Wheat)
Before You Start: Your Starter
You’ll need an active sourdough starter. If you don’t have one, Farmhouse on Boone has a great guide: https://www.farmhouseonboone.com/make-sourdough-starter-scratch/. Even better, ask around or post in a local Facebook or Reddit group and someone will often share an established one, which gives you a head start.
Feed your starter the night before you plan to bake. It’s ready to use when it has doubled in size, though it will still work if it’s already started to settle back down.
A Note on Equipment
A scale is essential in my opinion, and this recipe uses weights throughout.
For baking vessels, you have two good options:
- Oblong bread baker (recommended): forces the dough upward rather than outward, giving you a more consistent, evenly baked loaf that’s easy to slice.
- Dutch oven (for boules): this is the classic method but not my preferred method.
A thermometer is also worth having to check for doneness. A dough whisk and a lame (scoring blade) are nice to have but not required.
Ingredients
For a loaf in an oblong bread baker:
- 360g all-purpose flour
- 338g whole wheat flour
- 23g vital wheat gluten
- 503g filtered water
- 150g active starter
- 15g salt
For a boule in a Dutch oven:
- 240g all-purpose flour
- 225g whole wheat flour
- 15g vital wheat gluten
- 335g filtered water
- 100g active starter
- 10g salt
Optional mix ins: pumpkin seeds, flax seeds, chia seeds, hemp hearts, chocolate chips, cheddar cheese, garlic, etc.
Instructions
1. Mix
Combine your starter and water and mix to combine. Add the flours, vital wheat gluten, and salt and mix until no dry flour remains, using your hand makes this easier. Let the dough rest for 15 minutes.
Note: if you’re adding unrefrigerated mix ins, I’d add them here.
2. Stretch & Fold
Do 4 rounds of stretch and folds, with 30 minutes of rest between each. For each round: grab one side of the dough, stretch it up as far as it’ll go, and fold it over the top. Rotate the bowl and repeat 3 more times. Don’t worry if it doesn’t stretch much in the first round as that’s totally normal.
3. Bulk Fermentation
Cover the dough with a damp towel and let it rise somewhere in your kitchen. Depending on your room temperature it can take anywhere from 8–16 hours. You can put a small amount of dough in a straight-sided container like a mason jar so you can more easily watch it rise. This guide has a great cheat sheet for how much rise you need based on room temperature. The dough is ready when it springs back slowly after you poke it.
4. Shape
For a loaf: Sprinkle some flour on a clean surface and turn the dough out. Stretch it into a rough rectangle, then fold and roll it into a loaf shape. Place it into a towel-lined loaf pan dusted with cornmeal or rice flour.
For a boule: Turn the dough onto a very lightly floured surface. Fold the edges into the center, flip it over, then use your hands or a bench scraper to drag it toward you in short strokes, building surface tension until you have a tight round. Place it seam-side up into a bowl lined with a towel dusted with cornmeal or flour.
Note: if you’re adding cheese as a mix in this is where I would add it.
5. Cold Proof
Cover and refrigerate for 8–12 hours. If you want a really sour loaf, you can leave it up to 36 hours, totally up to you!
6. Bake
In an oblong bread baker: Line the baker with parchment, turn your cold dough in, and score the top (optional). Put the lid on, place it in a cold oven, then turn it on to 430°F (220°C). Bake for 40–50 minutes, until the internal temperature is between 200–210°F (93–99°C).
In a Dutch oven: Place your cold dough onto parchment and score it. Lower it into the Dutch oven, put the lid on, and place it in a cold oven. Turn it on to 430°F (220°C) and bake covered for 40 minutes. Remove the lid and bake another 15-25 minutes until it’s a deep golden brown and the internal temperature reaches 200–210°F (93–99°C).
Note: I find when I bake in a Dutch oven the bottom crust gets very dark and crispy, so I always put ceramic pie weights under the parchment paper.
7. Cool
Let the loaf cool on a wire rack for at least 2 hours before slicing. I know it’s hard to wait but cutting too early traps the steam inside and you’ll end up with a gummy crumb — not worth it!
